
"Art begins with a single line — and a pencil knows exactly where to start."
🎨 . :
This is a reference to the various types or styles of art produced with pencils. It aids in defining the topic, method, and creative aim of pencil drawings.
Typical forms of pencil art consist of:Lifelike, incredibly detailed drawings of people, animals, or objects are known as realistic drawings.
Drawing features or full-body models with attention to proportion is the main goal of portrait sketches.
Cartoon and manga: Comics frequently utilize simplified, stylized characters.
Drawings depicting items such as fruit, bottles, or flowers placed in a composition are known as still lifes.
Non-realistic drawings that highlight forms, shapes, and emotion are known as abstract art.
Technical pencil drawings of buildings and other structures are called architectural sketches.
Doodles and line art are informal, lighthearted drawings that are frequently utilized imaginatively in notebooks or digital artwork.

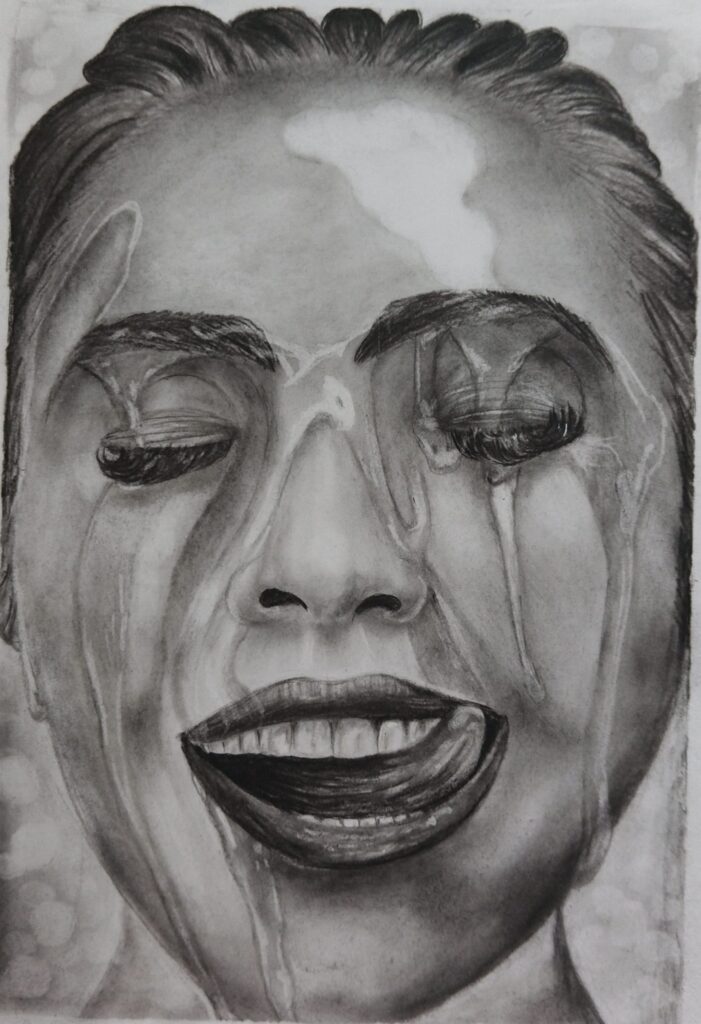
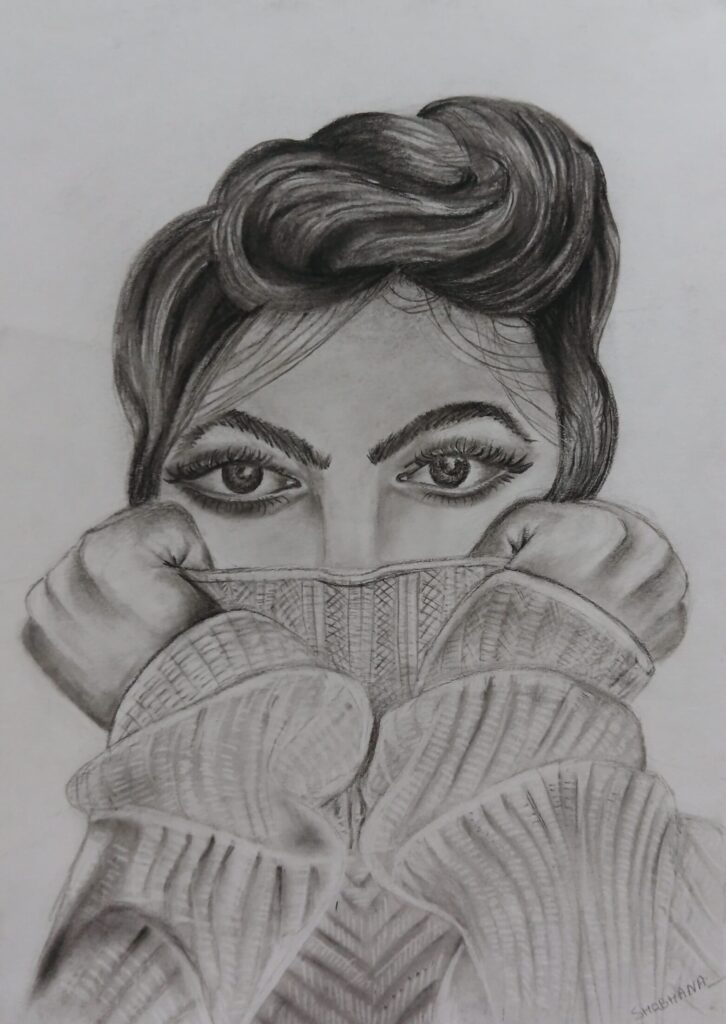
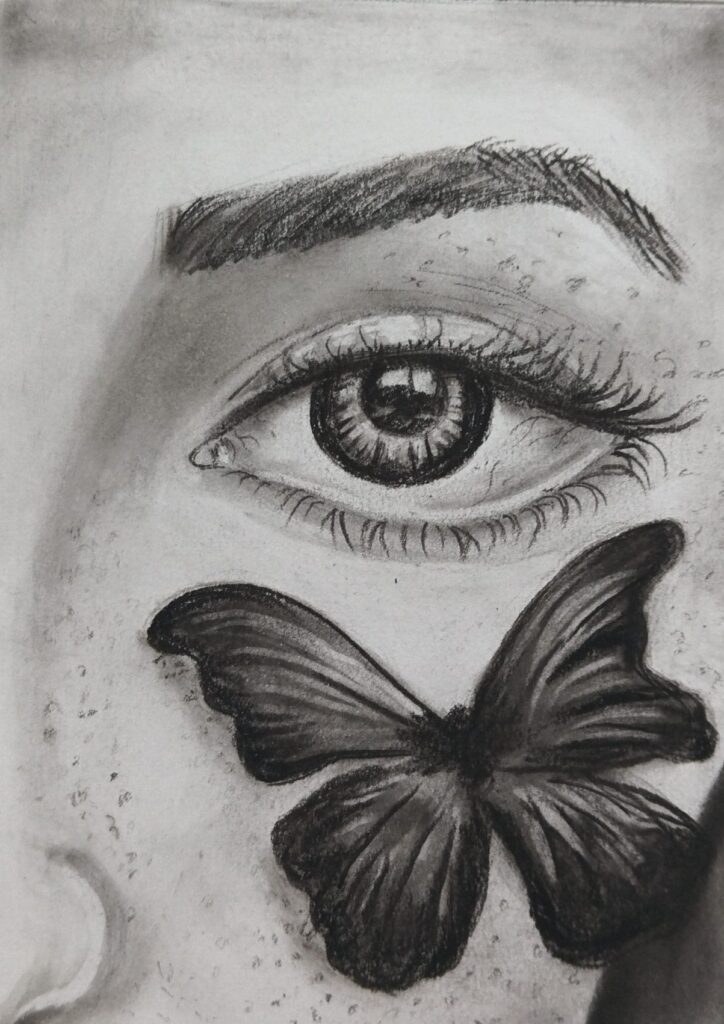
These include realistic and straightforward pencil drawings of the faces of women and girls, illustrating various degrees of complexity and artistic approaches, ranging from basic sketches to very lifelike representations. Certain sketches highlight cultural features like women reflect social issues like women‘s empowerment and the “Save Girl Child” campaign. Additionally, there are allusions to pencil sketches, which traditionally monochrome drawings, as well as anime-inspired and cartoon-style sketches of girls, suggesting a fusion of realism and stylized art forms. The list also features drawings of ladies in a variety of positions, including the back view, and engaging in a variety of activities, such dancing or taking pictures. The emphasis on practical matters like pencil grades, sketching guidelines, and how to create a pencil sketch suggests an interest in both the aesthetic result and the procedure. Generally speaking, this collection demonstrates a great interest in the female form and identity, which is represented by the enduring art of pencil drawing.
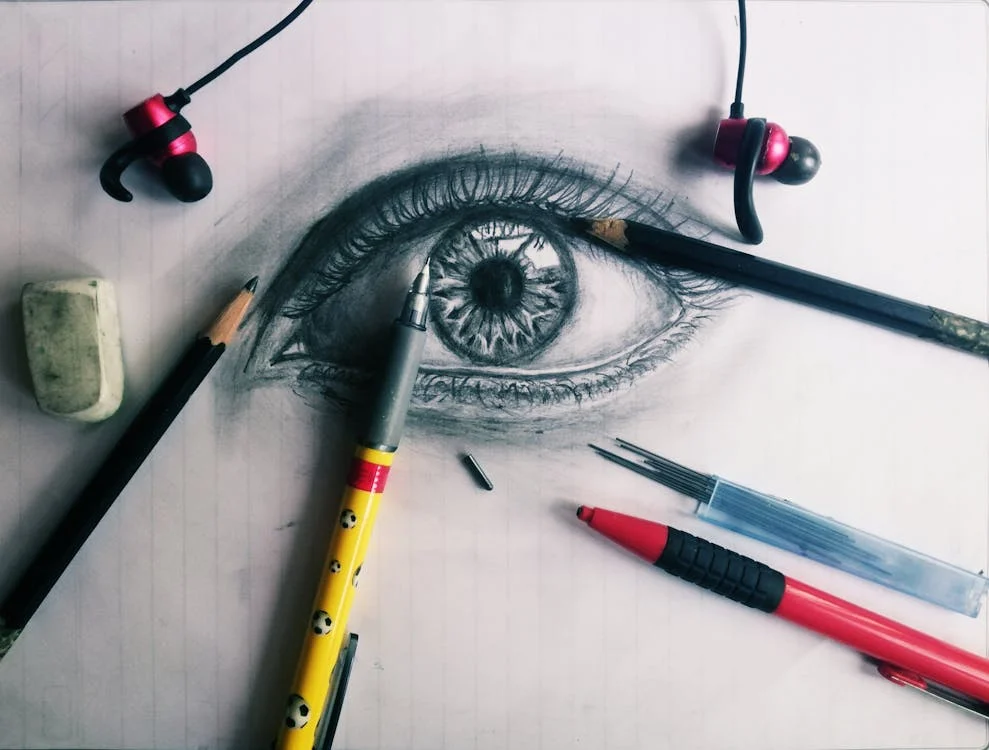
The following is a step-by-step introduction to basic sketching methods that will help you establish a solid foundation in pencil sketching, particularly for sketching faces, figures, or any topic:
1. Observation
Prior to sketching, pay close attention to your subject, be it a live model, a picture, or an idea. Pay attention to the proportions, posture, source of light, and major forms.
2. Fundamental Forms
Begin with simple geometric forms:
Use circles, ovals, squares, and triangles to block out the head, body, arms, legs, or other characteristics.
To properly position the eyes, nose, and lips, divide the head into sections for the face.
3. Light Sketching
(Construction Lines)
Apply little pressure on your pencil.
Establish construction lines to assist with proportions and alignment, such as the vertical center of the face and the horizontal eye line.
These lines are just transient and will be deleted later.
4. Proportion and Location
Make sure the proportions of the facial features or body parts are right.
For instance, the distance between eyes is typically one eye width.
On average, the human body is around 7–8 heads in height.
For precision, employ measuring methods such as using your hand to measure with a pencil.
5. Improving the Outline
Begin improving the forms after the building seems appropriate.
Define the subject’s borders (edges) using lines that are somewhat darker and more confident.
Remove any extraneous lines.
6. Including Specifics
Concentrate on the smaller aspects: eyes, lips, hands, hair texture, and fabric wrinkles.
Take your time and think carefully, adding complexity little by little.
7. Shading
Use shading to depict light and shadow, and determine the source of the light.
Methods:
Parallel lines represent hatching.
overcrossing lines: cross-hatching
Stippling: tiny dots
Mixing: Using tissue or a blending stump to create seamless gradients
To give your drawing a three-dimensional aspect, establish contrast between light and dark regions.
8. Texture
Concentrate on surface characteristics like skin, hair, and cloth.
To replicate the appearance and feel, use pencil strokes (e.g., brief strokes for hair, smudging for soft skin).
9. Finishing Touches
Enhance highlights or shadows where necessary.
Get rid of smudges and tidy up the corners.
For highlights or reflective surfaces (such as the shine on the lips or eyes), use an eraser.
10. Practice and Review
Consistently experiment with various topics, such as humans, things, and animals.
Analyze your own work objectively to make it better.
To find areas for improvement, compare professional drawings or references.