painting technique
Brush strokes
How to Do Brush Stroke Painting for Kids – Step-by-Step Guide
Brush stroke painting is a simple yet creative method that teaches children different ways to move their brushes for unique textures and patterns. It’s ideal for kids art projects, beginner watercolor painting, and other fun creative activities that improve motor skills and creativity. Here’s how to do it:
Step 1 – Gather Materials
For this easy art for kids project, you’ll need watercolor or acrylic paints, various brushes, water, and thick paper or canvas.
Step 2 – Learn Different Brush Strokes
Show kids how to try thick strokes, thin strokes, dabs, swirls, and crisscross lines. Experimenting with these styles gives plenty of painting ideas for kids.
Step 3 – Create a Background
Using the watercolor wash technique, prepare a light background to make the brush strokes stand out more.
Step 4 – Add Brush Stroke Designs
Encourage children to layer different brush strokes to form flowers, waves, grass, or abstract patterns. This makes it one of the most versatile simple kids crafts.
Step 5 – Finish and Display
Once the painting is dry, display it on a wall or in a scrapbook. Brush stroke painting not only sparks creativity but also helps kids explore color blending and control.
Blending
Blending is a painting technique artists use to mix colors or shades together so they flow smoothly without sharp lines. It helps make paintings look soft, realistic, and natural. Blending is used to show things like light, shadows, and depth. Artists can blend with brushes, fingers, or tools depending on the type of paint.
There are two main methods: wet blending, where colors are mixed on the paper while still wet, and dry blending, where colors are layered slowly. This method is great for painting things like skies, skin tones, or soft textures.
Wast Technique
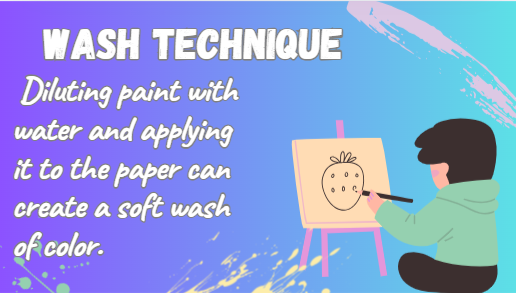
"Fun Wash Painting for Kids – Creative Watercolor Activity"
Engage children in the wash painting method, a playful and beginner-friendly approach to watercolor art for kids. By using diluted paints, they can easily produce smooth, blended effects—ideal for skies, landscapes, or abstract designs. This activity is great for kids' painting classes, simple craft projects, and creative art ideas at home. It helps boost imagination, develop brush skills, and makes painting for kids both exciting and easy.
How to Do Wash Painting for Kids – Step-by-Step
Wash painting is a simple and exciting method in beginner watercolor painting that children can easily master. Start by choosing a clean sheet of watercolor paper and wetting it lightly with a brush or sponge. Next, mix your chosen colors with plenty of water to create a diluted effect. Using long, even strokes, apply the paint to the wet surface for a smooth blend—this is the watercolor wash technique. Kids can experiment with gradients, layered colors, or even add details once the background dries.
This activity works perfectly for kids art projects, easy art for kids, and simple kids crafts at home or in school. It’s also one of the most popular fun creative activities for building brush control and exploring new painting ideas for kids.
Splatter Painting
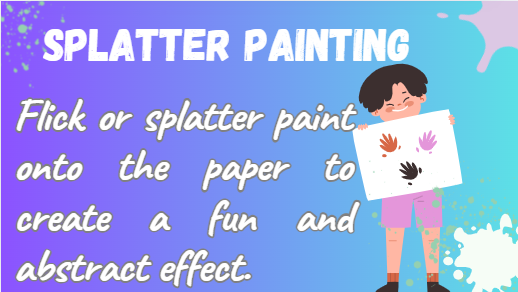
Splatter Painting Technique for Kids – Step-by-Step Guide
Splatter painting is one of the most exciting kids art projects because it’s playful, colorful, and easy for all ages. It’s perfect for beginner watercolor painting, easy art for kids, and simple kids crafts. Here’s how to try it:
Step 1 – Prepare the Area
Lay down old newspapers or a plastic sheet to keep your space clean. This is a must for fun creative activities that can get a little messy.
Step 2 – Choose Your Tools
Pick brushes, old toothbrushes, or even sponges. These tools help create unique splatter patterns, making it a favorite in painting ideas for kids.
Step 3 – Mix the Paint
Dilute watercolor or acrylic paints with water so they flick more easily. This step is similar to the watercolor wash technique, but here the focus is on splatters.
Step 4 – Splatter the Paint
Dip your brush into the paint, then tap or flick it over the paper or canvas. Repeat with different colors to create a vibrant design.
Step 5 – Let It Dry
Once the splatter art is complete, let it dry completely before displaying. It’s one of those simple kids crafts that always feels unique.
Impressionism
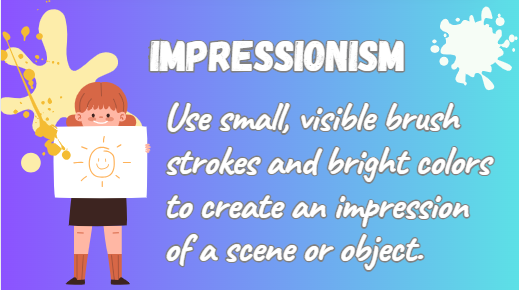
How to Do Impression Painting for Kids – Step-by-Step Guide
Impression painting is a wonderful way to introduce children to texture, color, and creativity. It’s perfect for kids art projects, beginner watercolor painting, and other fun creative activities that encourage self-expression. Here’s how to try it:
Step 1 – Gather Your Materials
For this easy art for kids project, you’ll need watercolor or acrylic paints, brushes, sponges, and thick paper or canvas. You can also include everyday objects like leaves, cotton, or bubble wrap for textures.
Step 2 – Apply the Base Color
Lightly coat your paper with a watercolor wash technique or any light background color. Let it dry slightly so the surface remains damp.
Step 3 – Create Impressions
Dip your chosen objects into paint and press them onto the paper. Each press leaves a unique mark, making this one of the most versatile painting ideas for kids.
Step 4 – Layer and Experiment
Encourage children to overlap colors and shapes to create depth. This step turns it into an exciting simple kids crafts activity where every result is different.
Step 5 – Display the Artwork
Once finished, let the painting dry completely and showcase it at home or school. Impression painting is a creative, mess-friendly way to boost imagination and motor skills.
Negative space
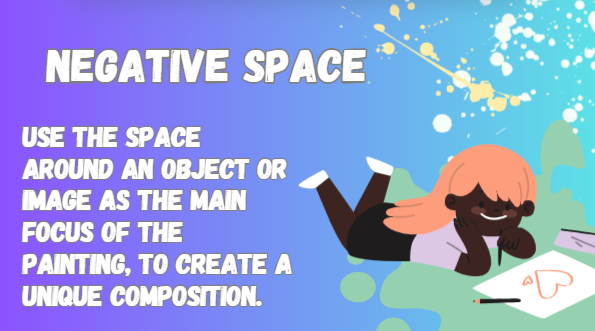
How to Do Negative Space Painting for Kids – Step-by-Step
Negative space painting is a creative art method where the background is painted while the main subject remains unpainted. It’s a fantastic choice for kids' art projects, beginner watercolor painting, and other fun creative activities that encourage observation skills. Here’s how to try it:
Step 1 – Gather Materials
For this easy art for kids activity, you’ll need watercolor paper, masking tape or stencils, brushes, and paints.
Step 2 – Outline or Mask the Shape
Use masking tape, paper cutouts, or stencils to cover the shape you want to keep white. This step sets up the main subject and makes the painting ideas for kids more exciting.
Step 3 – Paint the Background
Using the watercolor wash technique, fill in the space around the masked shape. Try blending colors for a soft and vibrant background.
Step 4 – Remove the Masking
Once the paint dries, gently peel off the masking to reveal the unpainted subject—the “negative space.” Kids love the surprise effect of this simple kids crafts activity.
Step 5 – Add Details (Optional)
If desired, children can add outlines or patterns inside the white space for extra creativity.
Negative space painting not only improves brush control but also teaches children how to focus on the area around an object, making it one of the most visually striking kids art projects.
How to Do Sgraffito Painting for Kids – Step-by-Step Guide
Sgraffito painting is a fun art method where children scratch through a layer of paint to reveal the color beneath. It’s a fantastic choice for kids art projects, beginner watercolor painting, and other fun creative activities that let kids explore texture and design. Here’s how to try it:
Step 1 – Prepare Materials
For this easy art for kids activity, you’ll need thick paper, bright-colored paints, black paint or oil pastels, and a scratching tool like a toothpick or craft stick.
Step 2 – Create the Base Layer
Paint the paper with bright colors or patterns. This layer will show through later, making the design pop—perfect for painting ideas for kids. Let it dry completely.
Step 3 – Apply the Top Layer
Cover the entire surface with black paint or a dark oil pastel. This will hide the colors underneath until scratched away.
Step 4 – Scratch the Design
Using your scratching tool, draw patterns, shapes, or scenes into the top layer. The bright underlayer will appear, turning this into one of the most exciting simple kids crafts.
Step 5 – Display the Artwork
Once complete, mount the art on a board or frame it. The contrast makes sgraffito one of the most eye-catching kids art projects for schools or at home.